Popularity in pedicure has shifted toward nail design creativity since the french manicure. Broadened taste brought out new types of forms, colors, and additions. However, the traditional french manicure was praised for its simple elegancy, and flexibility with personal style. One of the alternative designs striving away from the traditional approach is the reverse french nail. In this blog I will explore how the versatile approach alters what we know to be the original design. The sophisticated blend of lively color variations and detail designs make for a very impressive stylish and non-trivial manicure, and in this post I will give out recommendations and tips that any reader can pull inspiration from.
What is a reverse French manicure?

How does it differ from a classic French manicure?
A reverse French manicure uses a polished style where the tips of the nails are painted in a nude color, and the base or “moon” of the nail is painted in a darker or more vibrant color. In a traditional French manicure, there is a neutral nail bed with a white polish tip on the finger, whereas a reverse French manicure uses a contrasting color to the base of the nail and bolds the nail’s cuticle area, also known as the lunula. A modern day twist of bold colors and stark white of the polish combined with variation of embellishments makes this design very eyecatching. The shift in focal point from nail tips to base allows a whole new creative twist and more shade variation compared to standard french nail art.
What are the crucial components in achieving a reverse French nail design?
For me, the crucial components in achieving a reverse French nail design bends toward imagination, the application of colors, and accuracy of cuts. First would be to color the lunula at the base of the nail – it is the most identifiable part of this style. Typically, I would opt for a distinct color showdown to make the design look appealing and contemporary, like the use of a bold color with a softer tone base. For instance, I enjoy the use of metallics paired with solid base colors. The combination is stunning and striking without having to work too hard. Accuracy in the application contributes greatly as well since clean paint and refined lines around the lunula provides the design with a high level of sophistication. Moreover, I like to add some embellishments like little crystals or glitter details which transform your nails from glamourous into sparkling ones.
How to create a perfect reverse French manicure at home?

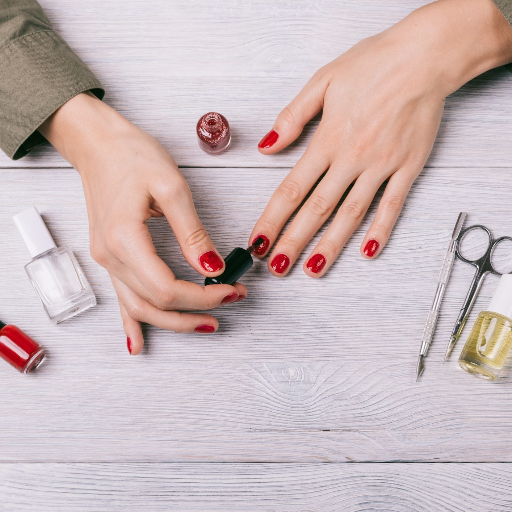
What tools and products do you need?
- A base coat that will protect the nails and increase the longevity of the manicure.
- Two colors of nail polish, one that will serve as a base and the other that will be for the lunula highlight.
- A fine nail art brush or nail art tape for borders which allows application without mess and clean edges.
- A top coat that will seal the design and provide a glossy finish.
- Nail polish remover and cotton swabs to polish the design after completion.
Step-by-step guide to achieving the reverse French look
- First apply base coat on the nails in order to provide protection to the nails.
- Apply the base color and allow it to fully dry.
- With the fine nail art brush or tape outline the lunula with your second polish color ensuring clean edges.
- Add a top coat to seal the design and provide smooth and shiny finish.
- Use nail polish remover and cotton swabs to clean up mistakes for polished finish.
Tips for a long-lasting reverse French manicure
- Make sure that you clean and buff your nails as this prepares them greatly, thus ensuring better polish adhesion.
- Avoid bottom and top coat peeling by using good quality products
- Do not dip your nails in water for long periods of time after application.
- For best results, put on an extra layer on the top coat every several days to keep shine. Preventing chipping should be the central goal.
What are some popular color combinations for reverse French nails?

Achieving an graceful aesthetic through the use of numerous colors
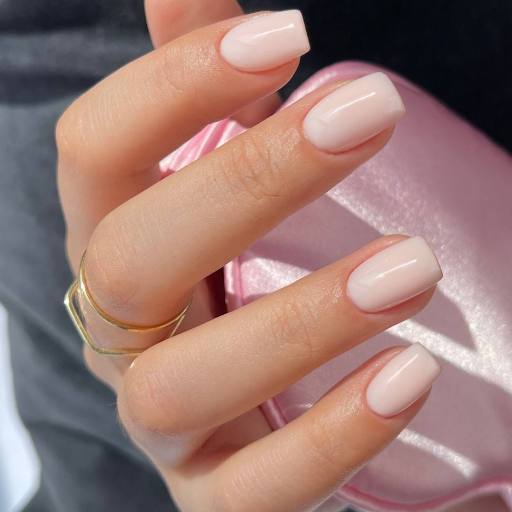
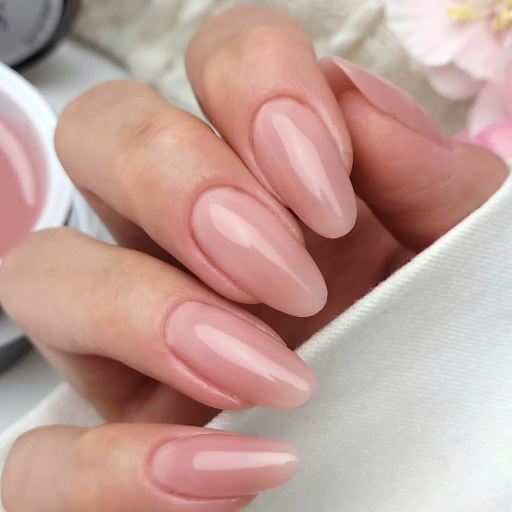
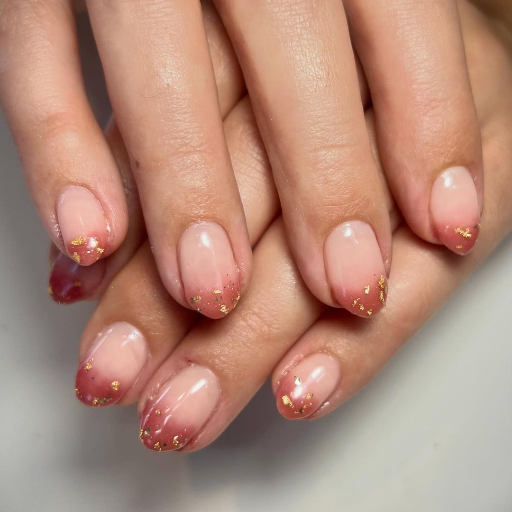
There are methods of executing nail art in reverse French nails using color combinations. If you want relatively understated, yet elegant features, using gold or silver with nude or blush pink does the trick. This combination creates a glowing polish suited for formal occasions. Another popular combination is black with metallic gold or silver white. This is a more modern approach. For a softer appearance, try using pale colors with white, like lavender or pastel mint green for a youthful fresh appearance. The main point is that the colors should be complementary and achieve the desired fashionable look.
Daring and electrifying color selections for the modern twist
For a daring flip on hot pink and electric yellow, a more advanced neon aesthetic reverse French tips can indeed be created. Also, coral orange and turquoise blue can be used together to achieve an equally vibrant and stepped summer beach look. If those do not catch your fancy, try clearly daring combinations like deep crimson red with bright black teal or lime green. Such colors will certainly catch some stares while making a bold statement. To top it all off, designs like rainbow ombre and other gradient styles make nails such as these look as fun masterpieces. A lot of other pieces and this design for nails makes these combinations suitable for any daring person that wants to display their imagination through their fingers.
Metallic and chrome options for a dazzling effect
Metallic and chrome finish will be perfect for anyone looking to achieve a more glamorous look, especially for reverse French nails. Go for the likes of chrome blue, silver, and rose gold as they portray sophistication and modernity. In addition to this, for a more appealing look, a mirror or holographic chrome effect can be added to turn your manicure into an amazing bold statement. These finishes look stunning when light is refracted and also work well with common base colors like navy, black, even nude which results in a versatile yet appealing design. The use of metaphorical or chrome accents in your nail art helps glam up any attire or occasion.
How can you customize your reverse French manicure?

Nail art design and reverse French style nail art design
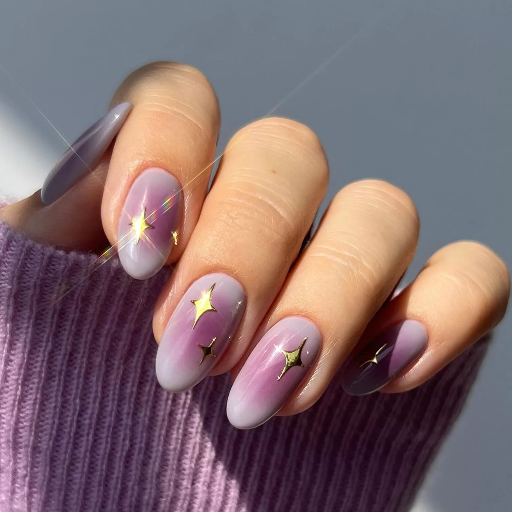
A reverse French manicure as well as custom nail art designs can make a beautiful combination. One of them is color blocking in which two or more colors or textures are used for the French tip. The glitter at the cuticle line and matte base is a good example of what you could do to commentary block. You can go even further by including small details like studs, rhinestones or even fine foil for added class and glamor. If you have a few pieces of foil and some extra time to spare then there is plenty of room for creativity such as geometric patterns, flowers, or even baby abstract strokes in the reverse French area. Another option would be to depict the seasons by incorporating snowflakes for winter, pastel flowers for spring, and bold warm colors for autumn. With such you are guaranteed that reverse French manicure will never be the same when it comes to style and design.
Experimenting with different shapes and negative space
Negative space may be defined as the space surrounding a shape, such as the outline of a form which is specified as a positive space. Due to this, it can be effectively used while Interlacing different movements and shapes of outlines compliting a unique reverse French manicure. One starting point could be replacing the curved accent at the cuticle border into an angular portion, V-shapes or asymmetrical curves for modernity. A striking capsule French manicure can be formed hairfinity by incorporating negative space into the design, such as leaving parts of the nail bare as a V shape on the tip or on the sides. With the additional alterations, the manicure can easily form a feisty and contemporary look by layering shapes or combining blocks of colors with clear sections. Still, using unconventional nail shapes (gypsy almond shape, coffin shape, stilettos) can emphasize the effect gloves, making them more unusual. It allows you to stand out. As a whole, these techniques break the rules of gel nails and allow different styles which capture your personality.
What are some trendy variations of the reverse French manicure?

Icy reverse French: A cool and chic option
To express stylishness with a modern chic winter nuance alongside glittering finishes, icy reverse french manicure is the way to go. Icy reverse french is highly stylish and suits winter season to the fullest. To achieve this design, start from the sheer or milky white base and mix it with shimmering silver or metallic glitter in the reverse french area. This design for winter totally captures the sparkles of ice and snow which makes it an excellent choice for the cold winter months and glamorous winter occasions. To add more beauty on top of this design, please do not hesitate to add small rhinestones or tiny snowflake decals to emphasize the frosted beauty. Icy reverse french is stunning without a doubt. Its adaptability makes the design versatile, suiting the modern luxury aesthetic.
Colorful Reverse French Tips
For those who enjoy adding a little pizazz to their nails, colorful reverse French manicure designs are just right. This style allows for different color combinations. Each nail can be a different color, or two contrasting colors can be used – one for the base and another for the reverse French area. You can go wild with colors, or mix softer colors like fuchsia with pastel purple. Don’t forget softer tones of green and blue for a more feminine touch. Add a unique twist to your design by choosing gradients and ombre. Colorful reverse French nails are excellent for a range of social activities, including parties and casual outings. Select muted earth tones or vivid colors, and you will still be able to unleash your colorful personality. One can start to have fun with designs with Colorful Reverse French Tips so it is now time to be bold and let your creativity run wild.
Micro reverse French: An Sophisticated nail art choice
The micro reverse French manicure offers a soft alternative on this classical nail art. This design is appealing to women who love subtle details because the line of a reverse french is much thinner. As a base color, you can go for neutral tones like beige or cream and pair these shades with a metallic or glossy accent on the reverse side. Alternatively, try soft shades or even a sheer shine that works well with the natural appearance of your nails. The micro reverse is highly versatile and works well with both informal and formal context thanks to its elegant touch. This is why this style is my favorite one; it seems to get everything right all at once.
Reference sources
Frequently Asked Questions (FAQs)
Q: What is a reverse French manicure?
A: As an inverted French manicure, a reverse French manicure is one that ‘flips’ the traditional design. French manucure as we know it had a white band at the tip, while the style now sports a color block on the cuticle, which makes it more modern.
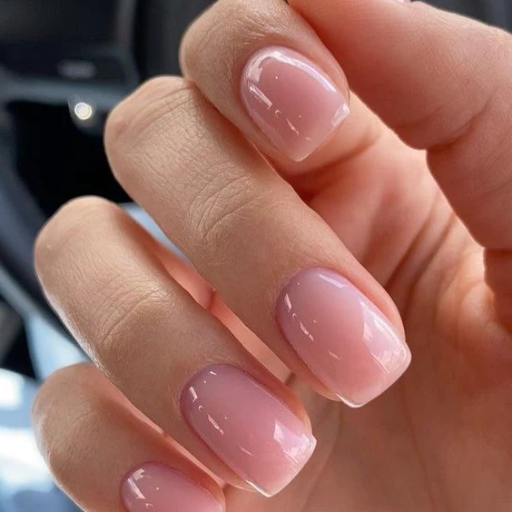
Q: How can I create a pink reverse French manicure?
A: For this design, you’ll need to use a very light pink shade as a base color. After that, use a small brush or a dotting tool to paint a curved band using a darker pink along the cuticle. Finally, apply a top coat to the highly reflective finish that screams summer.
Q: What are some popular color combinations for a reverse French manicure?
A: For an icy reverse style, silver and white are popularly used. Some people prefer very nude with black if they are going for a more dark and moody manicure, but the creativity does not end there, because you can also use different colors like holographic ones. The best part is the freedom to mix and match as you wish, making it easy to create endless combinations.
Q: What can I do to prolong the lifespan of my reverse french manicure?
A: To maximize the lifespan of your reverse French manicure, start off by using a polish friendly base coat. Remember to apply polish in thin layers, waiting for each to dry completely before applying the next. Finish with a premium top coat to lock everything in and reapply it every few days. For added protection, consider utilizing gloves while doing housework.